Setting up Private Endpoints for Azure Virtual Desktop environment.
Why do you want to set up a private Azure Virtual Desktop environment?
Azure Virtual Desktop has quickly become a great solution for working remotely. But for organizations with strict security or compliance requirements, connecting AVD through private endpoints gives you an extra layer of security. This setup ensures all AVD traffic stays off the public internet.
In this post, I’ll walk you through why isolating your AVD environment with private endpoints is a smart move and how you can set it up step by step. Whether you’re aiming to improve security and align with a Zero Trust strategy, this approach has plenty of advantages.
I will show in the portal how to configure this and in the final part i will give you some directions how to set this up using Bicep.
Let's get started.

Are there disadvantages and what are the advantages?
Yes! there are disadvantages, but for many branches the advantages outweigh the disadvantages from a security point of view, therefore it is good to look at your specific scenario.
Advantages
Security: Private endpoints ensure that AVD traffic remains within your virtual network and not being exposed to the public internet, It therefore alligns with the Zero Trust standard
Compliance: Many branches require data and application traffic remain private. Using private endpoints helps meet these compliance standards.
Reliability:: By avoiding internet-based connectivity, you reduce potential disruptions caused by public internet outages or latency issues.
Disadvantages
Complexity: Setting up private endpoints involves additional configuration, such as DNS adjustments and virtual network design, which can be time-consuming and complex.
Costs: Private endpoints come with additional costs, such as data transfer fees and the use of supporting resources like VPN Gateway, DNS and Bastion.
Limited Public Access:: If public access is required for certain scenarios, additional steps may be needed to connect to the network, using a VPN is a great solution.
How does it work?
Azure Virtual Desktop consists of three key workflows, each mapped to a corresponding resource type for private endpoint integration. These workflows are:
Feed Discovery: Enables the client to discover all workspaces assigned to a user. To support this process, a single private endpoint must be created for the global sub-resource of any workspace. However, only one private endpoint is allowed across the entire Azure Virtual Desktop deployment. This endpoint establishes Domain Name System (DNS) entries and private IP routes for the global fully qualified domain name (FQDN) required for initial feed discovery. This connection serves as a single, shared route for all clients.
Feed Download: Allows the client to download all connection details for a specific user associated with the workspaces hosting their application groups. A private endpoint must be created for the feed sub-resource for each workspace you intend to use with Private Link.
Connections to Host Pools: Manages the connections between clients and session hosts within a host pool. A private endpoint must be created for the connection sub-resource for each host pool you want to use with Private Link.
More information regarding the details can be found on this Microsoft section.
What are the limitations and known issues?
There are some limitations and known issues regarding the use of Private Link you can find the majority on the Microsoft learn pages. Below are the important want's that i want to highlight before you gonna set-up the private connection.
- Before you want to use the Private Link you need to re-register the Microsoft.DesktopVirtualization resource provider.
- Using both Private Link and RDP Shortpath for managed networks isn't supported, but they can work together.
Let's start with some examples.
I will show you in the portal the steps what you can do to disable the public access for both the Workspace and the SessionHosts.
First i will give you an example of disabling the Session Hosts but still see the workspace.
Go to the Hostpool you want to disable from public access.
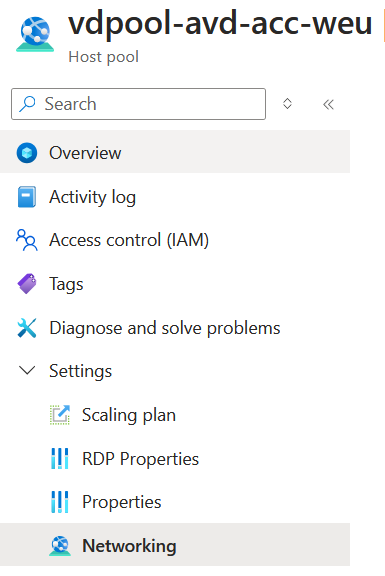
Click on Network Settings and choose your desired setting, in my case I will disable everything, and save the setting:

Go to the Remote Desktop Client and subscribe using your user account, when I subscribed I will still get the workspace:
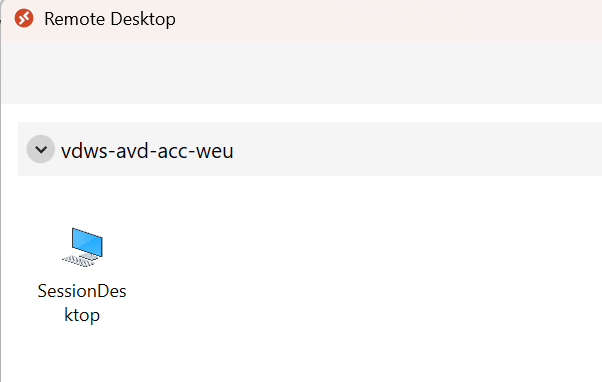
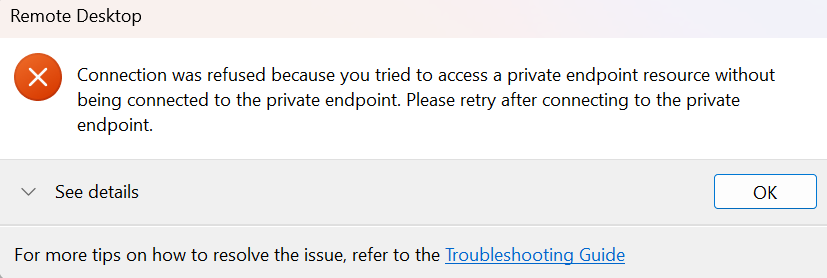
When i double click on the workspace it will give you the error:
Let me give you an example of disabling public access of the Workspace
Go to the Workspace that you want to disable from public access.
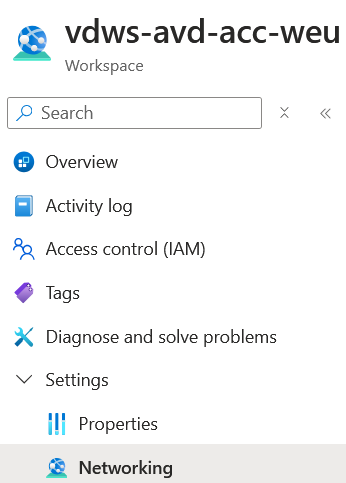
Click on Network Settings and choose disable public access and use private access, save the setting.

Go to the Remote Desktop Client and subscribe with your user account, you will get the following message:

But how are we gonna access this when we disable public access?
Good question! You will need to create an private endpoint. I will show you an example how to do this for the Hostpool
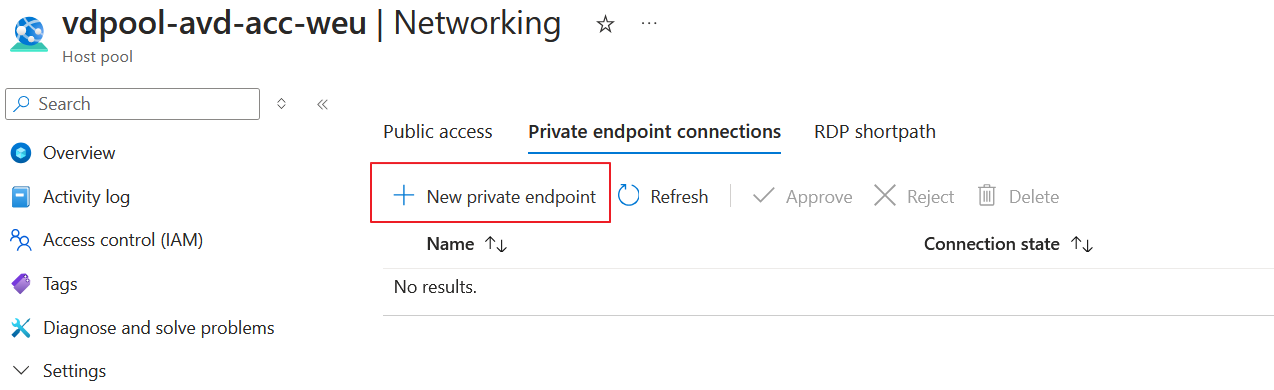
Go to the networking setting of the hostpool and click under Private endpoint connections New private endpoint.
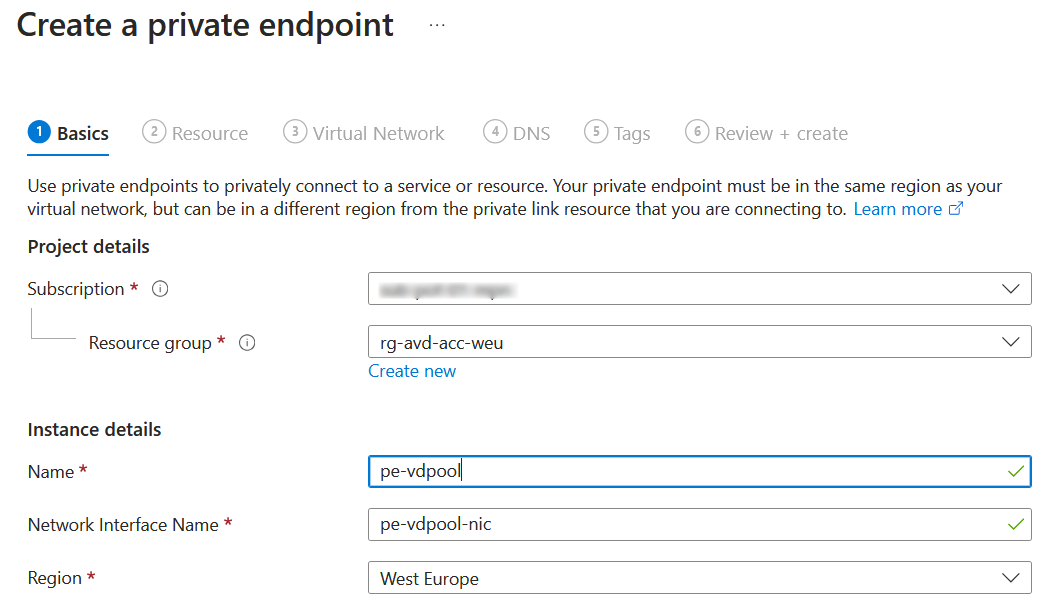
Fill in the desired values under the basics tab.
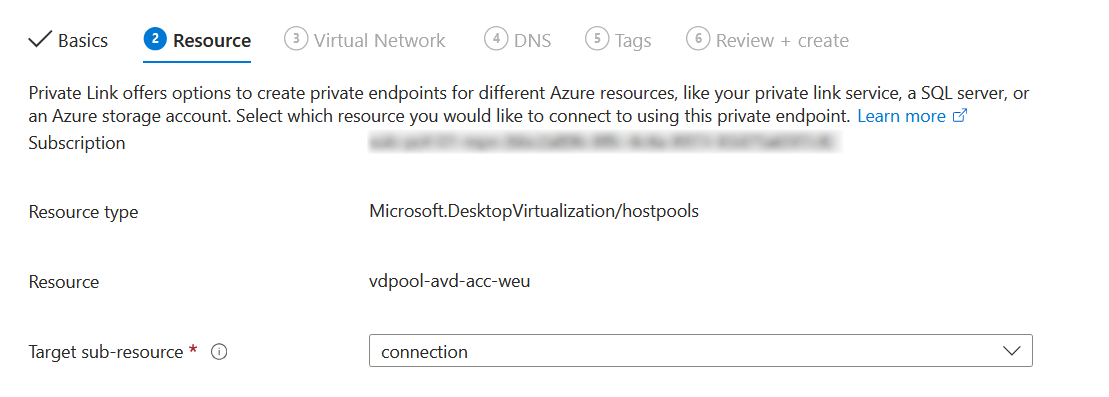
In this section it will be already filling in the right details.
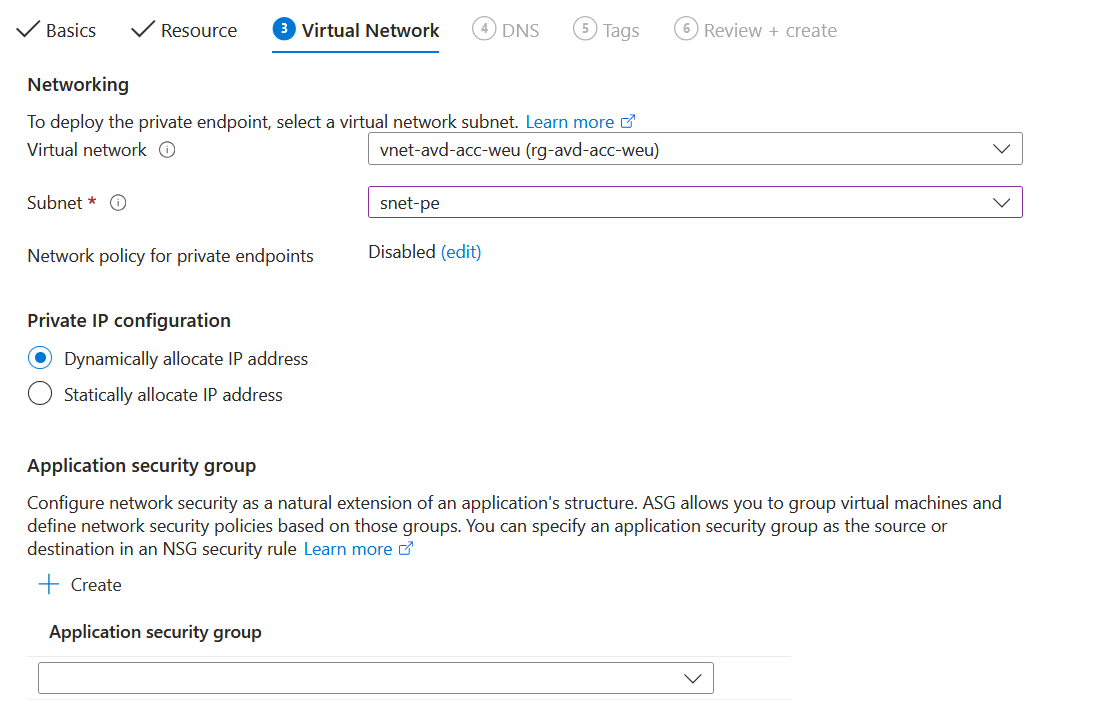
Choose the right Virtual Network and select the subnet that you want to put in the nic's for the Private Endpoint.
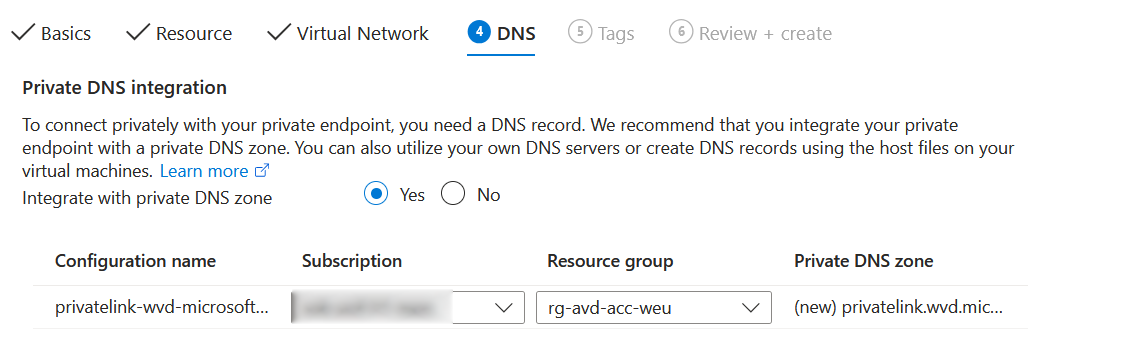
In the next section you need to choose if you want to integrate a Private DNS Zone, choose yes. I have have a own DNS server that's why i am using the 168.63.129.16 as a forwarder in my DNS, so i don't need to add the records in my DNS solution.
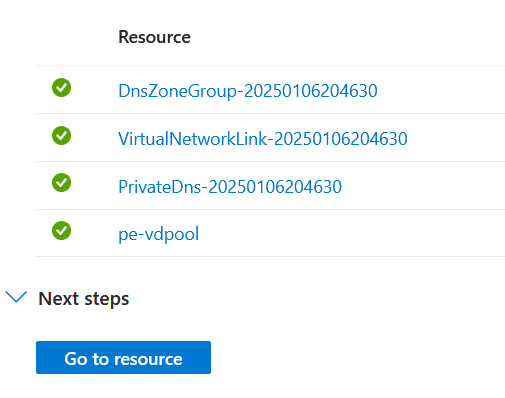
As a last step click on review and create, so it will create the resources for you, like listed below.
And how do we proceed?
Let's test the setup:
First lets check our Private Endpoint Connection you view this under the network settings of your hostpool, please make sure the connection state is Approved.

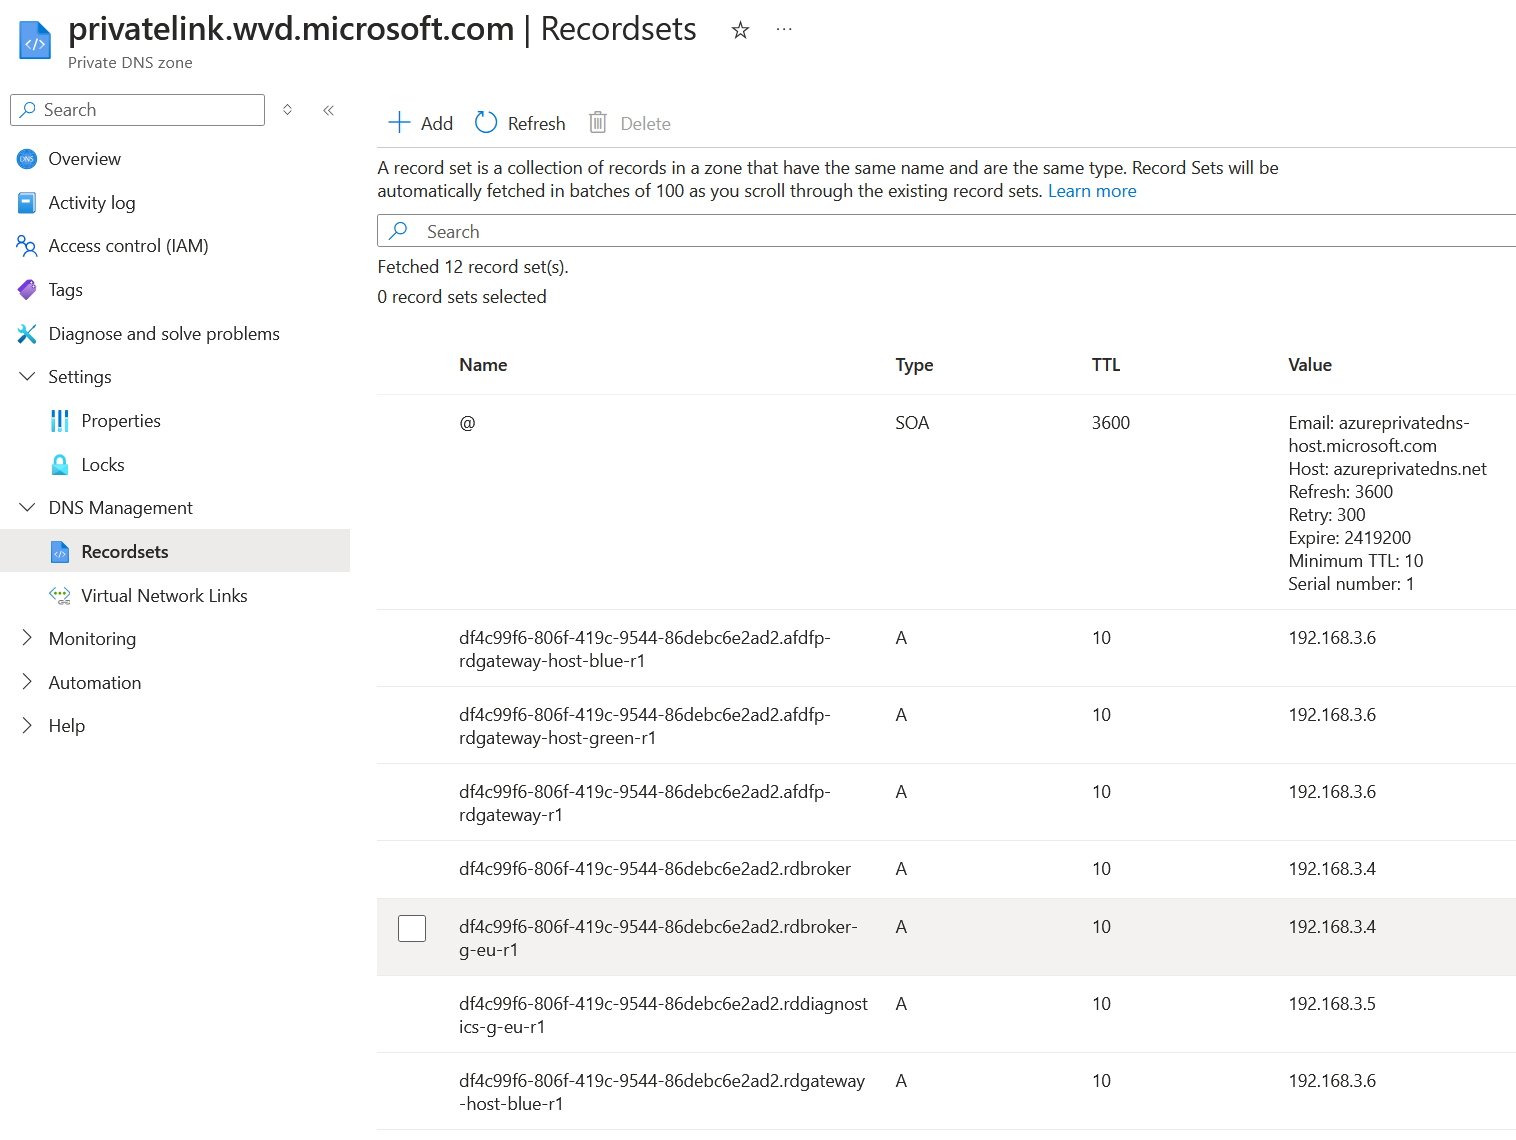
As we check the Private DNS Zones it will show you a name privatelink.wvd.microsoft.com this is auto created when creating the private endpoint, in the recordset you see the different A records needed for the private link. All the private endpoints that are created Workspace and Hostpool will be created under this Private DNS Zone, so if you want to use your own DNS sever you need to add all these records under privatelink.wvd.microsoft.com in your DNS settings.
If we do a nslookup from a device outside of the network, you won't get the private endpoint IP-Address because we are not connected with a VPN or in the internal network.

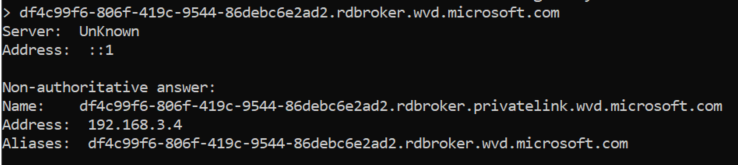
If we do a nslookup from a device within my network it will give a internal IP-address in return.
So let me disable public access and test it on the device outside my network, keep in mind you need to restart the sessionhost or the Remote Desktop Agent Loader services after this change, this is needed to synchronise the settings.
Second i will test on the device that is within my network and it will give me the following authentication screen for the Session Hosts.
Can you create more private endpoints for Azure Virtual Desktop.
Yes, I will not show you every combination, because the Hostpool will give you a good example of what is possible, but also for the Workspace you can choose 2 different private endpoint combinations:
- Feed: you can use this option when you want to have a specific Workspace disabled from public access.
- Global: you can use this one per Azure Virtual Desktop and when enabled this will overule the feed connection.
More information can be found on this learn page from Microsoft.
Can we do this with Bicep?
Of course you can! let me tell you what you need. First you can take the base file located in my repo . To make it private you need to change and add some modules to the file:
I will not paramatarize everything, if you want to now how to use bicepparam file, look at one of my early blogs, here is a great example of a bicepparam file.
- First create an extra subnet for the private endpoints in the vnet, we will add this in the Var configuration:
 1
 2var VNetConfiguration = {
 3  Subnets: [
 4    {
 5      name: subnetName
 6      addressPrefix: avdSubnetPrefix
 7      privateLinkServiceNetworkPolicies: 'Disabled'
 8      networkSecurityGroupResourceId: createNetworkSecurityGroup.outputs.resourceId
 9    }
10    {
11      name: 'snet-pe'
12      privateEndpointNetworkPolicies: 'Disabled'
13      addressPrefix: '192.168.3.0/24'
14    }
15       ]
16
17}
- We follow up with some new modules, one for the Private DNS Zone and one for the Private Endpoint, this example is for a Private Endpoint for the hostpool:
 1
 2module createPrivateEndpoints 'br/public:avm/res/network/private-endpoint:0.9.1' = {
 3  scope: resourceGroup(resourceGroupName)
 4  name: 'pe-${deploymentGuid}'
 5  params: {
 6    name: 'pe-${deploymentGuid}'
 7    location: location
 8    privateDnsZoneGroup: {
 9      privateDnsZoneGroupConfigs: [
10        {
11          privateDnsZoneResourceId: createPrivateDNSZone.outputs.resourceId
12        }
13      ]
14    }
15    privateLinkServiceConnections: [
16      {
17        name: 'private-endpoint-avd'
18        properties: {
19          privateLinkServiceId: createAVDHostpool.outputs.resourceId
20          groupIds: [
21            'connection'
22          ]
23        }
24      }
25    ]
26
27    subnetResourceId: createVirtualNetwork.outputs.subnetResourceIds[1]
28    tags: tags
29  }
30  dependsOn: [createResourceGroup]
31}
32module createPrivateDNSZone 'br/public:avm/res/network/private-dns-zone:0.2.0' = {
33  scope: resourceGroup(resourceGroupName)
34  name: 'dns-${deploymentGuid}'
35  params: {
36    name: 'privatelink.wvd.microsoft.com'
37    virtualNetworkLinks: [
38      {
39        name: 'vnet-${deploymentGuid}'
40        registrationEnabled: true
41        virtualNetworkResourceId: createVirtualNetwork.outputs.resourceId
42      }
43    ]
44    location: 'global'
45    tags: tags
46  }
47  dependsOn: [createResourceGroup]
48}
- And we finish with changing the Hostpool module where we change the hostpool, to disable public access and add the private endpoint:
 1
 2module createAVDHostpool 'br/public:avm/res/desktop-virtualization/host-pool:0.5.0' = {
 3  scope: resourceGroup(resourceGroupName)
 4  name: 'avd-${deploymentGuid}'
 5  params: {
 6    name: avdHostpoolName
 7    location: location
 8    hostPoolType: 'Pooled'
 9    publicNetworkAccess: 'Disabled'
10    privateEndpoints: [
11      {
12        privateDnsZoneGroup: {
13          privateDnsZoneGroupConfigs: [
14            {
15              privateDnsZoneResourceId: createPrivateDNSZone.outputs.resourceId
16            }
17          ]
18        }
19        subnetResourceId: createVirtualNetwork.outputs.subnetResourceIds[1]
20      }
21    ]
22    maxSessionLimit: 100
23    vmTemplate: {
24      customImageId: null
25      domain: 'domainname.onmicrosoft.com'
26      galleryImageOffer: 'WindowsServer'
27      galleryImagePublisher: 'MicrosoftWindowsServer'
28      galleryImageSKU: skuVersion
29      imageType: 'Gallery'
30      imageUri: null
31      namePrefix: 'avdv2'
32      osDiskType: 'StandardSSD_LRS'
33      useManagedDisks: true
34      vmSize: {
35        cores: 2
36        id: 'Standard_D2s_v3'
37        ram: 8
38      }
39    }
40    tags: tags
41  }
42  dependsOn: [createResourceGroup]
43}
Wrapping up.
While isolating AVD requires some extra effort and resources, the benefits in security, compliance, and reliability outweigh the challenges for most organizations. It can be a crucial step for any business that aims to meet high-security standards while offering a remote work place. In this post i have shown you the possibilities when disabling public access and creating an Private Endpoint to safely connect to the Azure Virtual Desktop.
In the final step i also showed you that you can easily build an isolated Azure Virtual Desktop using Infrastructure as Code. I hope you had a great time reading my post, see you next time!